I thought for today, I'd do a quick tutorial on how to do Crazy Quilt Foundation Piecing. This might be especially helpful for those of you who are planning on taking my
Color and Composition Classes which will be starting on January 1st, 2013.
I use the Sew and Flip method of piecing for my crazy quilts so that is what I will be sharing here.
Step 1:
I use a medium weight muslin for the foundation. Then, with a black permanent marker, I measure out my block. In this case, the block is a 6 inch square. I add an inch on all sides and draw that line as well. There is a method to my madness! The black marker will show through to the backside of the foundation. Why do I do that? You'll see shortly.
Step 2:
Choose your first piece of fabric and cut a 5 sided piece. You'll be working off of this center piece.
Step 3:
Choose a 2nd piece of fabric and with the right side down, sew along one side of your center piece.
Flip it over and press.
You'll want your fabric pieces to be large enough to cover over that extra 1 inch allowance.
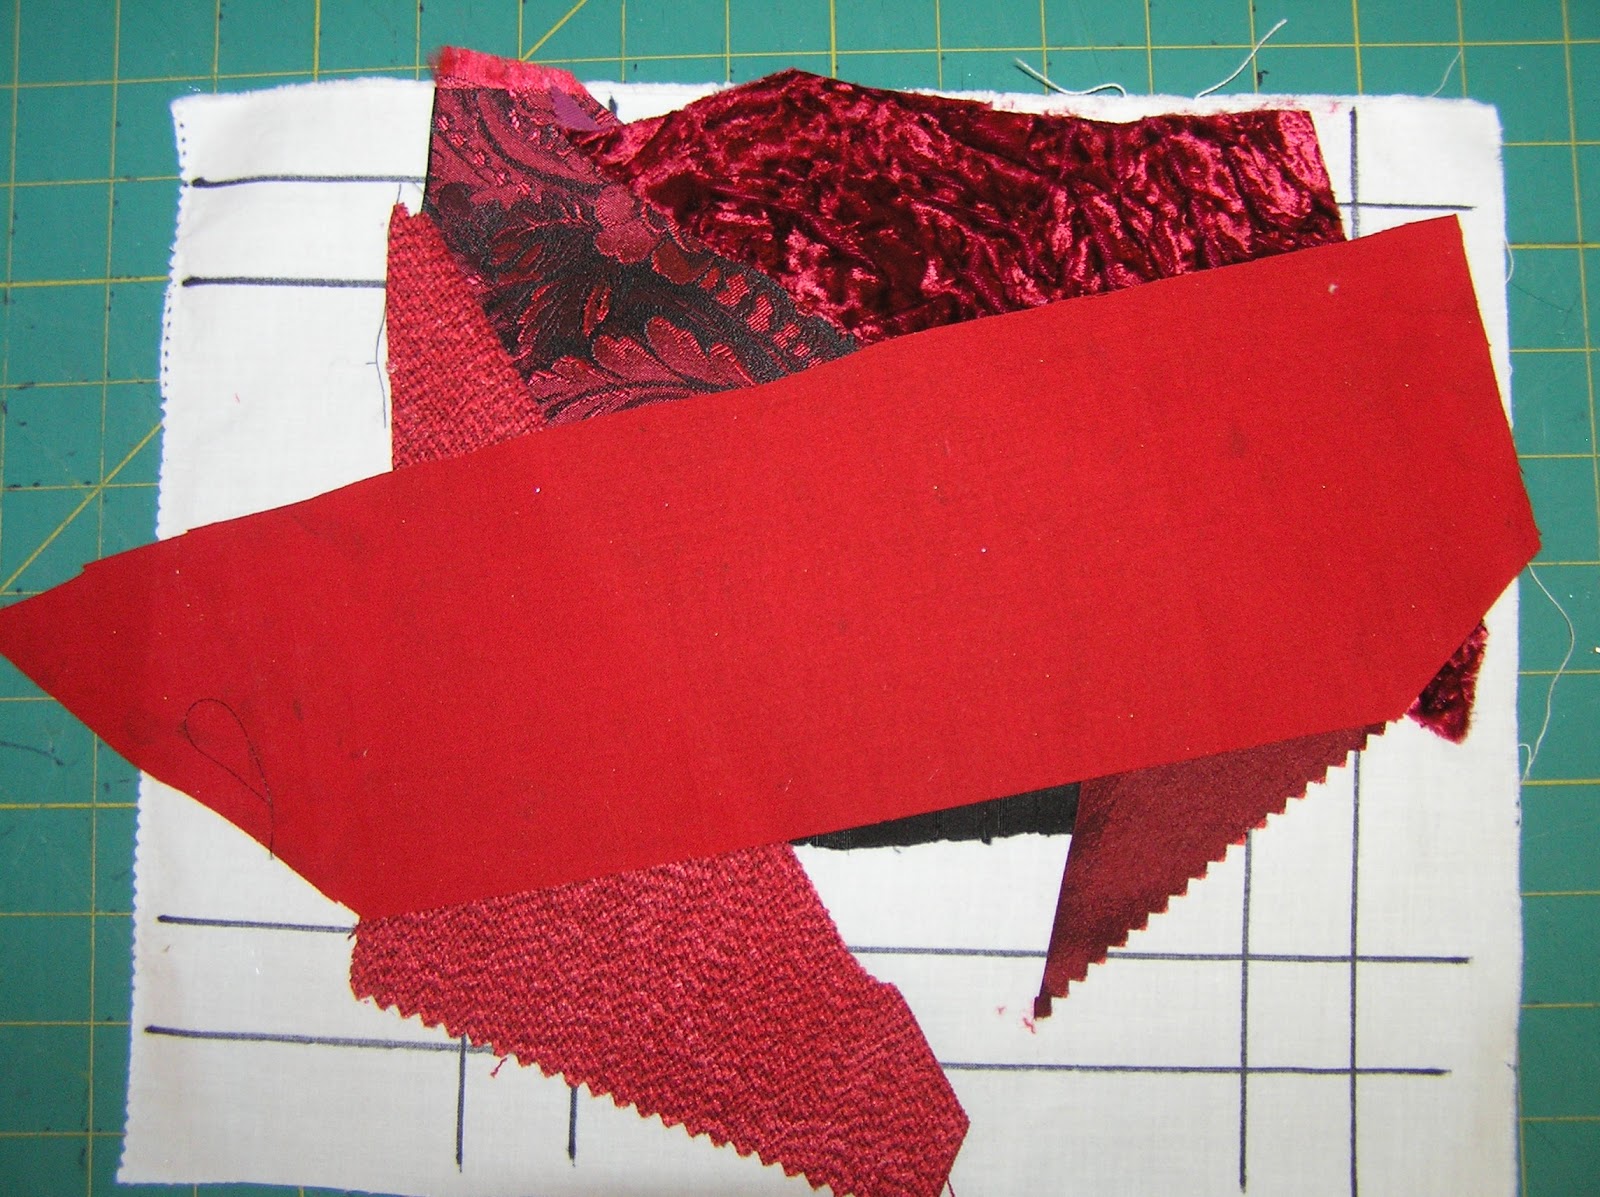
Step 4:
Choose another piece of fabric and repeat the process on another seam.
Step 5:
As you go along, be sure to cut away an excess fabric from beneath the pieces. If you don't cut that excess away, you'll be stitching through multiple layers. That will make stitching a chore rather than fun.
Step 6:
When you have your block all pieced, flip it over to backside.
Can you see the method to my madness? The black marker shows through to the back! Top stitch on the OUTSIDE line, all the way around the block.
Step 7
Step 8: Flip your block to the back again and run a hand basting stitch along the INSIDE line.
The inside line is the sewing line so the basting stitch gives you a good idea of how far you can go with beads and other embellishments. When you finish stitching your block, just pull the basting stitch out.
The reason for the excess fabric is because the stitching and embellishments can distort the shape of the block. With the extra all the way around, you can get a good straight square when you trim your piece for finishing.
And that's all there is to it!


12 comments:
Thanks so much for this! I love your little tips and tricks.
Pamela, thank you for the tutorial! Especially for idea with extra allowances! As I'm rather new in cq, it was my problem - after embellishing my block got smaller then I was planning :) now I know what to do! :)
Masha
Thanks for the tip Pam, I just purchased your Strawberry Magazine, I sure will enjoy it for next year.
Hugs Marilou
How would you like to c'mon over and teach my workshop in February? This is precisely what I'll be teaching. Hmmm - why don't I just send them all over to this blog post and I then wouldn't have to (scary thought) actually teach!!
a great tutorial, thanks you make it look so easy!!
Thank you so much for that excellent tutorial, Pam. Although I've been messing around with crazy patchwork ever since you inspired me, sometimes my blocks just do not turn out how they were meant to. Now I know why, and how to get it right!
Thanks so much for this lovely tutorial. It really helps! But is there a size limit to using this? You always seem to use smaller 6" or 9" blocks. What if one wants to use larger blocks? How would you go about piecing it then? Thanks again.
Kathy aka The Mad Stitcher
I did my first crazy patchwork block ever using your excellent tutorial. Thank you. I did the draft in preparation for the Crazy Quilt Journal Project 2013.
Marie, I'm so glad you found that tutorial helpful! Pam
Thank you so much for sharing so much information. LOVE your tutorial. I am pretty new with cq, so excuse me for this question, but on the small purses, do people normally do both sides? I'm sorry, but it seems I've only seen one side finished. I would love to see the backside too. So I'm not sure if they actually cq on both sides.
Hi Cherrell,
Normally, we only do one side of the purse and then use a plain fabric on the back however, it is absolutely acceptable to crazy quilt both sides if you would like to. There's no reason why you can't.
Pam
Thank you so, so much for posting this tutorial! I've tried repeatedly on my own, but never came up with a satisfactory way to allow for the seam allowances and not have the square "squinch up" when embellished. You are simply the BEST!
Post a Comment