Showing posts with label sew and flip method. Show all posts

Monday, December 03, 2012

Crazy Quilt Foundation Piecing Tutorial

I thought for today, I'd do a quick tutorial on how to do Crazy Quilt Foundation Piecing.  This might be especially helpful for those of you who are planning on taking my Color and Composition Classes which will be starting on January 1st, 2013.

I use the Sew and Flip method of piecing for my crazy quilts so that is what I will be sharing here.

Step 1:
I use a medium weight muslin for the foundation.  Then, with a black permanent marker, I measure out my block.  In this case, the block is a 6 inch square.  I add an inch on all sides and draw that line as well.  There is a method to my madness!  The black marker will show through to the backside of the foundation.  Why do I do that?  You'll see shortly.

Step 2:


Choose your first piece of fabric and cut a 5 sided piece.  You'll be working off of this center piece.

Step 3:

Choose a 2nd piece of fabric and with the right side down, sew along one side of your center piece.
Flip it over and press.

You'll want your fabric pieces to be large enough to cover over that extra 1 inch allowance.

Step 4:

Choose another piece of fabric and repeat the process on another seam.

Step 5:

As you go along, be sure to cut away an excess fabric from beneath the pieces.  If you don't cut that excess away, you'll be stitching through multiple layers.  That will make stitching a chore rather than fun.

Step 6:

When you have your block all pieced, flip it over to backside.

Can you see the method to my madness?  The black marker shows through to the back!  Top stitch on the OUTSIDE line, all the way around the block.

Step 7


Step 8:  Flip your block to the back again and run a hand basting stitch along the INSIDE line.

The inside line is the sewing line so the basting stitch gives you a good idea of how far you can go with beads and other embellishments.  When you finish stitching your block, just pull the basting stitch out.

The reason for the excess fabric is because the stitching and embellishments can distort the shape of the block.  With the extra all the way around, you can get a good straight square when you trim your piece for finishing.

And that's all there is to it!


Sunday, October 31, 2010

Crazy Quilting For Newbies - Working On A Foundation

 I always work on a foundation fabric.  A medium weight muslin is my foundation of choice.  I find that this stabilizes the block and supports that variety of fabrics used in crazy quilting.

Other than my sewing machine, these are the tools that I use.  A self-healing cutting mat, a rotary cutter, a quilters ruler, a permanent black marker and a glue stick.  And of course, an iron and ironing board.


The first thing I do, is to mark off my fabric.  The center lines are where the fabrics will be sewn.  It's also the sewing line.  This tells me how far I can go with the beading.  I piece my fabrics to the outside border.  This is because the block will shift a bit when adding stitching and beading.  It allows for that shifting and helps to give a little extra room for squaring off the block later.

 I use a black permanent marker because it bleeds through to the back side of the block.  I'll explain why momentarily.

Once you have your block marked, you can choose your fabrics:


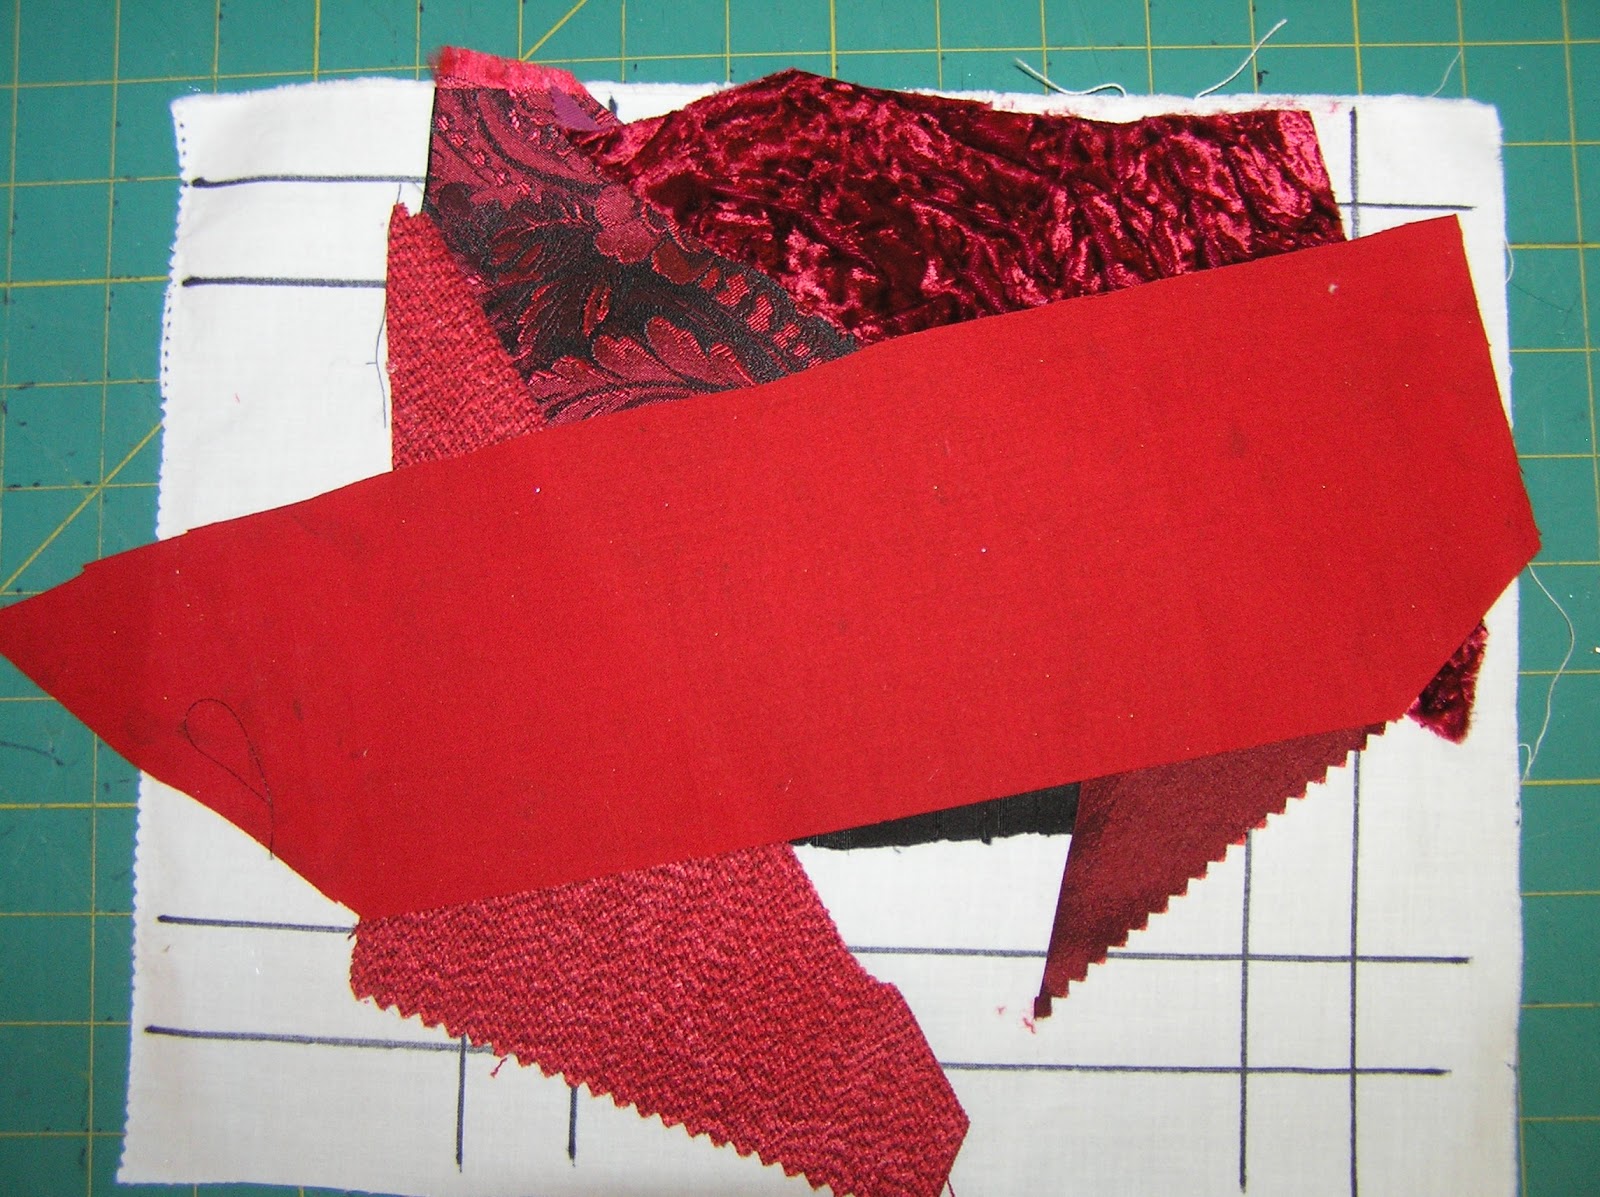
These are the fabrics I used on my Marie Antoinette quilt.  If you're like me, you have way more fabric than you'll ever use!  I always seem to be like a chipmunk stocking up for Winter.  Like I'll never find another piece of fabric, bead, button, piece of lace and so on, ever again!  LOL!!

Anyway, choose your fabrics and cut 2 pieces to start with.  I use what's called the "Sew & Flip" method.


The first piece (dark piece) is face up on your foundation.  The next piece goes face down on top of the first piece.
Now, just sew your seam.

Flip the top piece open and press with your iron.

Apply the next piece and repeat.

 Continue the process until you've covered your block.


I will explain how I do curves in my next article.  For now, turn your block to the backside.  You'll be able to see the marker lines.  Sew on the outside line all the way around the block.  This holds the fabrics down along the outside edge.

Before stitching (and working on the back side of the block) run a basting stitch (by hand) on the inside line.  That's how far you can take the beads!  Don't put beads beyond the inside line.

I will write an article on preparing a block for finishing down the road.  In the meantime, I thought anyone new to crazy quilting might find my process helpful.  If you have any questions, please leave me a comment and I will gladly reply.


Add This To

Related Posts with Thumbnails