Tuesday, December 11, 2012

Crazy Quilt Color And Composition Lessons

Just a reminder that my Crazy Quilt Color And Composition Lessons start on January 1st, 2013. 

Here's the schedule so far:

Lesson 1 - January 1, 2013
Lesson 2 - January 21, 2013
Lesson 3 - February 14, 2013

In other news, I'm working on my 2013 Valentine projects:

I expect to finish this one up this afternoon.


Monday, December 10, 2012

I Know It's A Wee Bit Early

But when you make things to sell, you have to work a holiday in advance!

I mentioned yesterday that I'm going to take a break from finishing my book until after the holidays.  So I started on my Valentines.  This one is ready for sewing:

And this is my next one:

I think I sewed up 6 of these little hanging hearts so I'll be stitching on these for awhile.


Sunday, December 09, 2012

Another Book Model

I feel like I've been neglecting my blog but at this time of year, I guess we only have 2 hands and can only do so much.  I'm just about done with my Christmas shopping.  I have 2 more things to pick up and I can wrap next weekend.

I have been stitching and working on my upcoming book.  Here's another model:

I think I'll take a break from the book until after Christmas now.  I only have a few more patterns to do and few more models that I want to stitch so it won't take long to finish it once I get past the holidays.

Tuesday, December 04, 2012

Another Model for my Next Book

I'm told that I accomplish a lot in a short amount of time.  I lean towards being a work-a-holic but what I do just doesn't seem like work to me.  It's a lot of fun to get new ideas and see them come to life and because I work strictly now with my passion, crazy quilting, I can go, go, go like the energizer bunny!

In case you missed it in past posts, I am working on a new book.  This piece is another model:

I'm thinking I will call it "Elegant Sentiments For Crazy Quilting".  The book will contain charted patterns for cross stitching sentiments such as Dream, Believe, Hope, Happy Christmas, Thanksgiving Blessings and so on.  I'm actually almost done with the patterns.  There will be about 60 of them.  But I'm still working on models and yes, there are some that I have not posted here.  So stay tuned for updates!

Monday, December 03, 2012

Crazy Quilt Foundation Piecing Tutorial

I thought for today, I'd do a quick tutorial on how to do Crazy Quilt Foundation Piecing.  This might be especially helpful for those of you who are planning on taking my Color and Composition Classes which will be starting on January 1st, 2013.

I use the Sew and Flip method of piecing for my crazy quilts so that is what I will be sharing here.

Step 1:
I use a medium weight muslin for the foundation.  Then, with a black permanent marker, I measure out my block.  In this case, the block is a 6 inch square.  I add an inch on all sides and draw that line as well.  There is a method to my madness!  The black marker will show through to the backside of the foundation.  Why do I do that?  You'll see shortly.

Step 2:


Choose your first piece of fabric and cut a 5 sided piece.  You'll be working off of this center piece.

Step 3:

Choose a 2nd piece of fabric and with the right side down, sew along one side of your center piece.
Flip it over and press.

You'll want your fabric pieces to be large enough to cover over that extra 1 inch allowance.
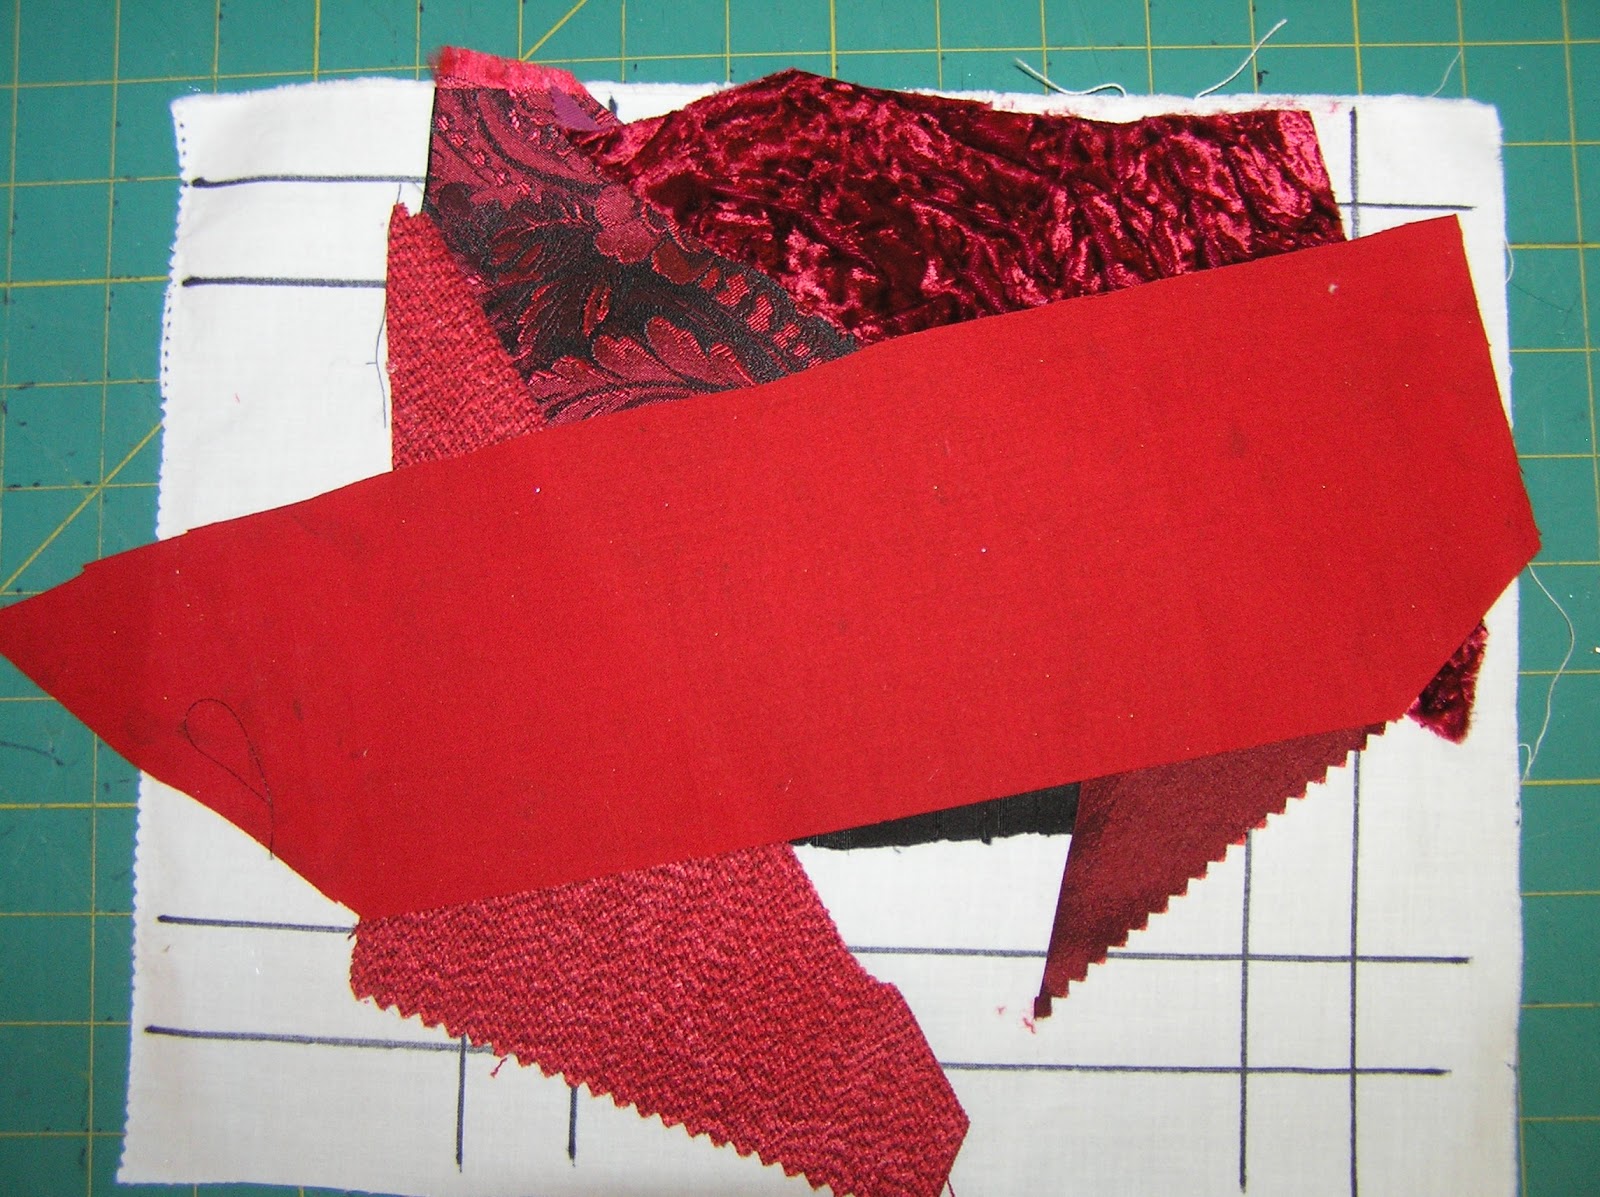
Step 4:

Choose another piece of fabric and repeat the process on another seam.

Step 5:

As you go along, be sure to cut away an excess fabric from beneath the pieces.  If you don't cut that excess away, you'll be stitching through multiple layers.  That will make stitching a chore rather than fun.

Step 6:

When you have your block all pieced, flip it over to backside.

Can you see the method to my madness?  The black marker shows through to the back!  Top stitch on the OUTSIDE line, all the way around the block.

Step 7


Step 8:  Flip your block to the back again and run a hand basting stitch along the INSIDE line.

The inside line is the sewing line so the basting stitch gives you a good idea of how far you can go with beads and other embellishments.  When you finish stitching your block, just pull the basting stitch out.

The reason for the excess fabric is because the stitching and embellishments can distort the shape of the block.  With the extra all the way around, you can get a good straight square when you trim your piece for finishing.

And that's all there is to it!


Add This To

Related Posts with Thumbnails