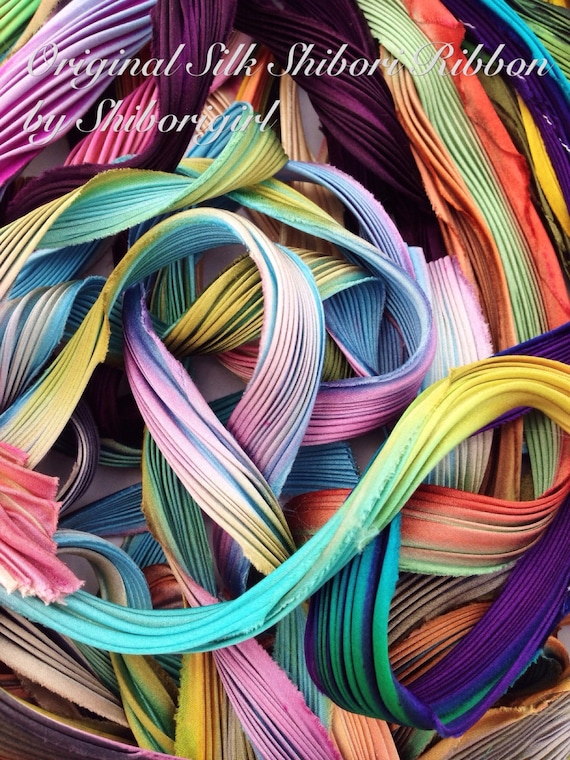
Created and manufactured by Shibori Girl, this gorgeous silk ribbon is available in a vast array of colors.
There are several online shops that carry the full line of Shibori Silk Ribbon but for Crazy Quilting, I recommend a scrap bag with a variety of shorter pieces. These scrap bags are available from Shibori Girl Studios on Etsy.
So what do you do with Shibori Ribbon? Let's get started.
Step 1: Because Shibori Ribbon is made of silk and pleated, it's very fluid and reflective. It can add movement to your crazy quilt block. It adds texture and light and of course, color! Determine where you want your ribbon on your block. In my example, I wanted the ends sewn into the seams. I started by pinching one end of the ribbon together and sewing the end down so that when I put this piece together, the ribbon will be sewn into the seam. It's just a matter of tacking it down. I used a fine silk thread by YLI for hand sewing:
Step 2: Fan the pleats out a bit and tack the edge down along one side. You'll want to tuck the raw edge under as you tack it down with tiny stitches.
As you can see in the photo below, I sort of "pinched" it in the center and then fanned it out again near the bottom. Again, I want both ends sewn into the seam when I put this project together.
So continue to tack your ribbon down along the other edge until you're satisfied that your shibori ribbon is secure. You don't need to a lot of tack stitches. Just a few.
Step 3: I like to use some sort of a focal point embellishment. In my example, I used a round pink bead and then added "petals" with smaller bicone beads. You can use buttons, a piece of vintage jewelry or anything else you like.
Step 4: Ya'll know me, I love beads!!! I used a pink bead mix and trailed beads from the pink flower outward in the "valleys" of the pleats, following the flow of the Shibori ribbon. You don't want to completely cover up your ribbon. Make sure you can see the ribbon through your bead trails.
And that's all there is to it! It's very simple and adds so much interest to a crazy quilt project.
Of course, this isn't the one and only way to work with Shibori Ribbon. As I use it on upcoming projects, I will share more technique tutorials but this one is a simple and good way to get started using it.
I still have some stitching to do on this block so I'll post another update on it over the weekend. For now, I'm off to sew up a block for my next project.


Thanks for this Pam! I've started to see this more and more :)
ReplyDeleteLovely tute Pam - I'll be linking to it on my blog in a bit.
ReplyDeleteVery pretty. I can see lots of uses for that ribbon even in my dollmaking:) Thank you for the link.
ReplyDeleteInteresting post, Pam!
ReplyDeletehola, me encantan tus gatos, mi blog está dedicado a mi gata Sara, saludos desde España
ReplyDelete